How to Split a Beehive: The Easiest Method for Beginners (Walk-Away Split)

If you’re new to beekeeping and wondering how to split a hive, this guide will walk you through the simplest and most beginner-friendly method: the walk-away split.

There are many advanced techniques for raising queens and making splits, but if you’re just getting started, this method works incredibly well and doesn’t require special equipment, grafting tools, or queen cells purchased online. It’s exactly what it sounds like — you split the hive and walk away, letting the bees do what they do best.

What Is a Walk-Away Split?

A walk-away split is one of the easiest ways to create a new hive from a strong colony. Instead of manually raising or introducing a queen, you allow the bees to raise their own queen naturally.

This method works best when:

  • Your hive is strong and healthy

  • The colony is at least two medium boxes or two deep boxes high

  • There are fresh eggs present

No grafting. No queen cages. No stress.

When Should You Split a Beehive?

Timing matters. The best time to split a hive is:

  • Spring through early summer

  • During a nectar flow

  • When colonies are building population quickly

Splitting during this time helps:

  • Prevent swarming

  • Increase hive numbers

  • Improve colony health going into winter

What You Need Before Splitting a Hive

Before you begin, make sure you have:

  • A strong hive (minimum two mediums or two deeps)

  • A new bottom board

  • A hive body (box)

  • A top cover

  • Fresh eggs or very young larvae

⚠️ Important: Without fresh eggs, bees cannot make a queen.

Step-by-Step: How to Do a Walk-Away Split

1. Split the Hive in Half

Take the top box of a strong hive and place it on a new bottom board with its own cover.

That’s it. You’ve officially split the hive.

If you use a queen excluder, the queen will remain in the bottom box — which means the top box must have a frame with fresh eggs so the bees can raise a queen.

2. Make Sure Fresh Eggs Are Present

This step is critical.

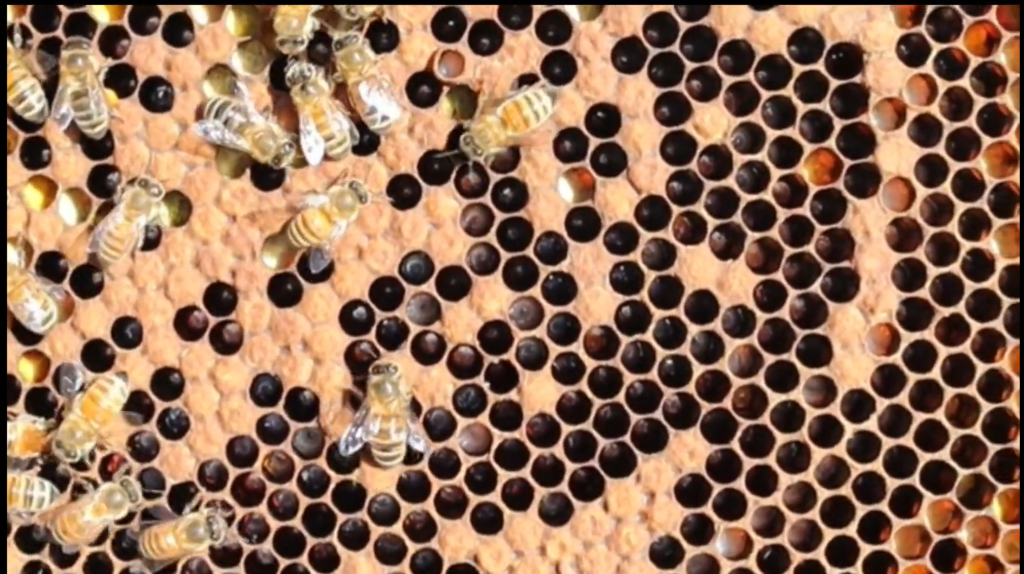
  • Look for eggs standing upright in cells

  • Eggs must be less than 3 days old

  • Without them, the split will fail

If needed, move one frame of fresh eggs into the queenless box.

How Long Does It Take to Raise a Queen?

Here’s the general timeline:

  • Day 0: Egg selected

  • Day 16: Queen emerges

  • Days 17–22: Sexual maturation

  • Days 23–26: Mating flights

  • Around Week 3: Queen begins laying

👉 Three weeks is a safe expectation from split to laying queen.

If you’re splitting using already capped queen cells, the timeline shortens to about two weeks.

Understanding Queen Cells (Very Important)

There are three types of queen cells every beekeeper should recognize:

  1. Swarm cells – Colony preparing to swarm

  2. Supersedure cells – Replacing a failing queen

  3. Emergency cells – Queen lost unexpectedly

During inspections, spotting these cells is often the signal that it’s time to split.

Making Multiple Splits From One Hive

If your colony is strong and you find multiple capped queen cells, you can:

  • Pull frames with queen cells

  • Add capped brood, honey, pollen, and bees

  • Create multiple splits from a single hive

Bees are incredibly adaptable and often thrive even after aggressive splitting when conditions are right.

What If There’s No Queen After 21 Days?

If you inspect your split after three weeks and see:

  • No queen

  • No eggs

  • No brood

Don’t panic.

You can:

  • Add a fresh frame of eggs

  • Shake in more bees

  • Let them try again naturally

This is one of the biggest advantages of the walk-away split — it’s forgiving.

Marking Queens (Why It Matters)

Once queens emerge, this is the best time to mark them:

  • Small colonies = easier to find queens

  • Large colonies = very difficult

Use a queen marking pen and mark the thorax.
If you’re nervous, practice on drones first — they don’t sting.

Marked queens save hours of frustration later.

When to Move Splits Into Larger Boxes

To keep bees productive:

  1. Start them in a nuc

  2. When full, move to a 10-frame hive

  3. Only add supers when boxes are nearly filled

Bees work harder when space is earned, not given.

Why Splitting Hives Is Good for Your Apiary

Splitting hives:

  • Reduces swarming

  • Helps control mites naturally

  • Builds apiary numbers

  • Increases winter survival odds

  • Can create income through nucs or equipment sales

Going into winter with double the hives dramatically improves your chances of success the following year.

Final Thoughts: Try It — Don’t Overthink It

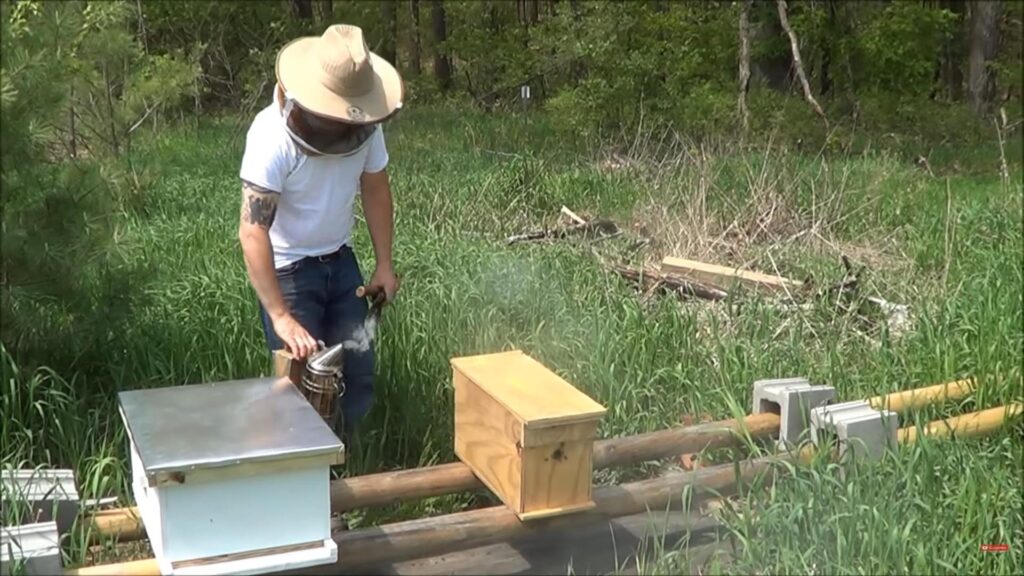
The walk-away split is one of the best methods for beginner beekeepers. It’s simple,

 effective, and teaches you to trust the bees.

You don’t need to be

 perfect.

You just need eggs, bees,

 and patience.

If you’re just starting out, this method will build confidence fast and help you grow your apiary naturally.

Want More Beekeeping Guides?

I’ll be sharing more practical beekeeping tips, gear recommendations, and real-world hive management strategies here on the site. Let me know what topics you’d like covered next.

BeeSmart Split Tracker - Instantly calculates dates

Ever wish you knew exactly what was happening in your split without guessing? There’s a simple tool that turns one date into a full hive timeline—so you never miss a beat.

Affiliate Disclosure: The link in this post is an Amazon affiliate link. This means if you click on the link and make a purchase, I may earn a small commission at no extra cost to you. Thank you very much and best of luck with your beekeeping!

Leave a Comment